Dashboard Overview
The Dashboard is your home screen in IntelliSales CRM. It provides a real-time, at-a-glance view of your key metrics, pipeline health, team performance, and upcoming activities — all in customizable, widget-based layouts.
What is the Dashboard
The dashboard is a configurable workspace where you arrange widgets — scorecards, charts, tables, and metrics — to monitor the data that matters most to your role. Sales reps might focus on lead conversion and upcoming tasks, while managers may track pipeline value and team leaderboards.
Dashboard Tabs (Multi-Dashboard Support)
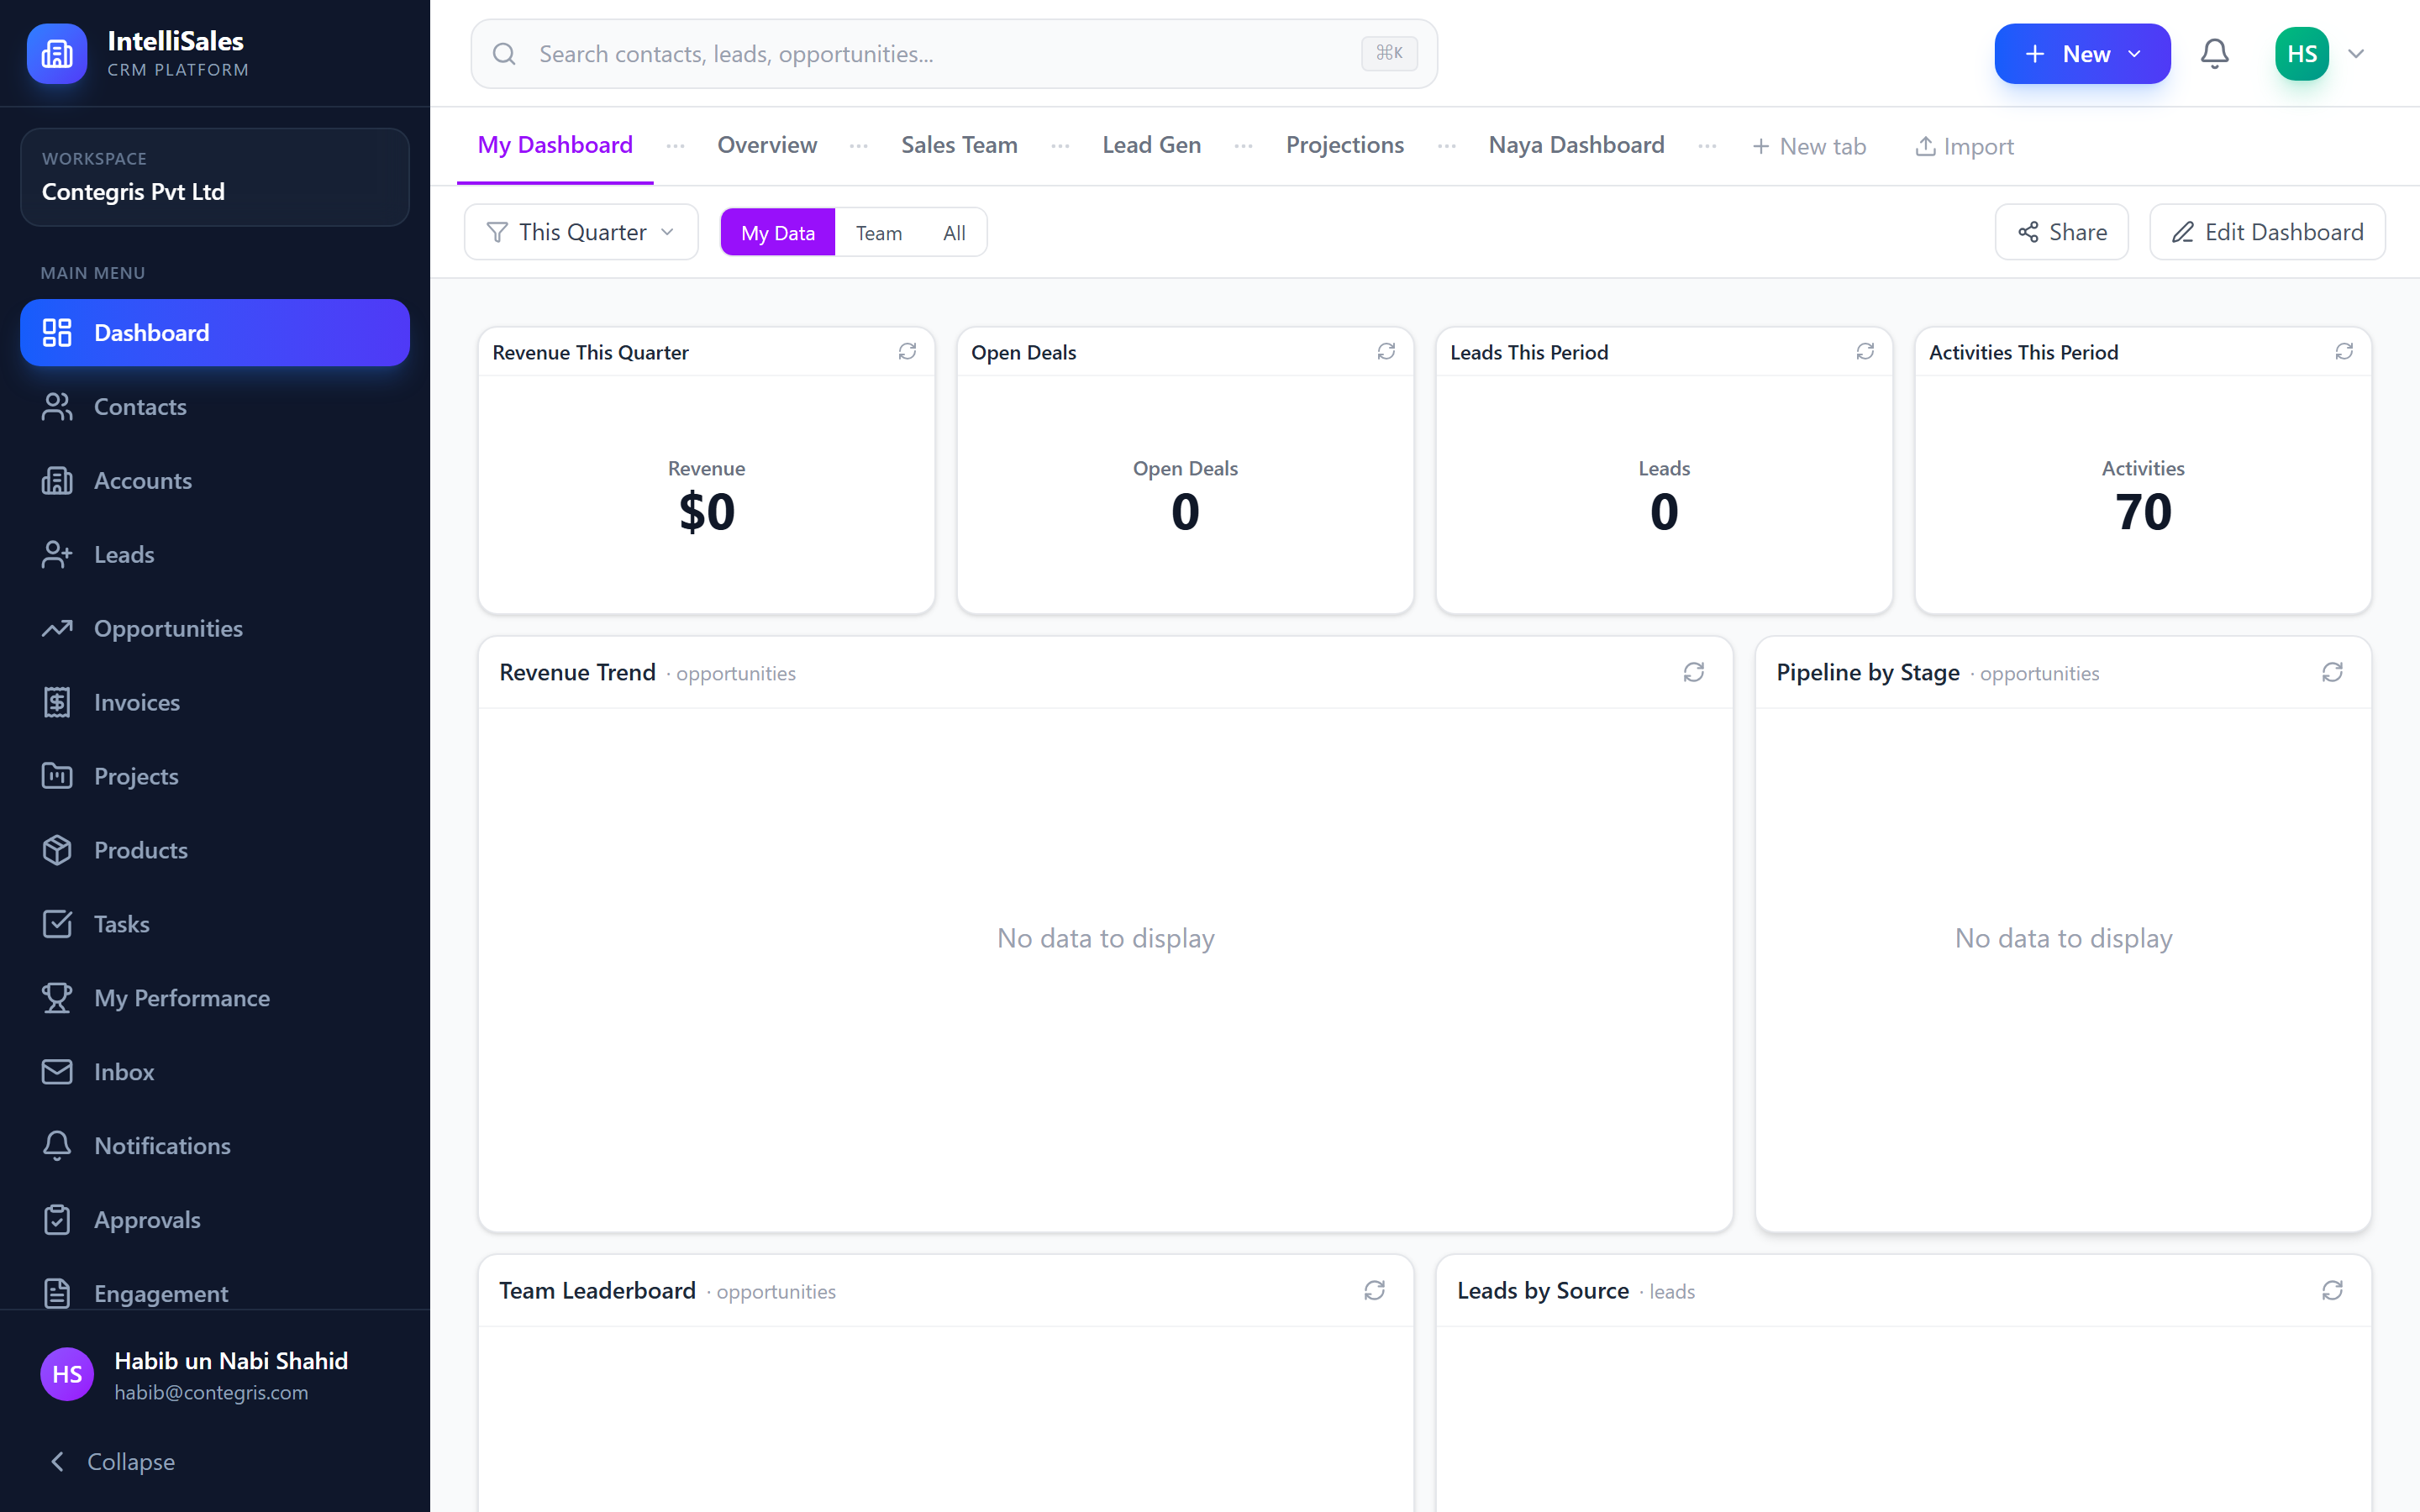
IntelliSales CRM supports multiple dashboard tabs, allowing you to create separate dashboards for different purposes.
- Each tab is an independent dashboard with its own set of widgets.
- Tabs appear as a horizontal tab bar at the top of the dashboard area.
- Click any tab name to switch between dashboards.
Example use cases:
- Sales Overview — pipeline funnel, win/loss ratio, forecast
- My Day — upcoming tasks, recent leads, activity feed
- Team Performance — leaderboard, targets, effort vs result
Creating a New Dashboard Tab
- Click the "+" button at the end of the tab bar.
- Enter a name for the new dashboard.
- Click Create.
- The new tab opens with an empty canvas ready for widgets.
Renaming and Deleting Tabs
- Rename: Right-click (or click the tab options menu) on a tab name, select Rename, type the new name, and press Enter.
- Delete: Click the tab options menu, select Delete, and confirm. This permanently removes the tab and all its widgets.
Deleting a dashboard tab cannot be undone. All widgets on that tab will be permanently removed.
Set as Default + Tab Settings
The tab context menu now exposes two extra options:
- Set as default — this tab is what you land on when you open the dashboard. Useful if you have a "My Day" tab you want to see first thing each morning.
- Tab settings… — opens the per-tab settings panel where you pick the default date range (e.g.,
last_30_days,this_quarter) and default scope (own / team / all) for the tab, plus which presets are allowed in the toolbar dropdown.
See Dashboard Customization for the full per-tab options and the scope picker behaviour (it now actually filters; earlier versions of the toolbar control were decorative).
Sharing Dashboards
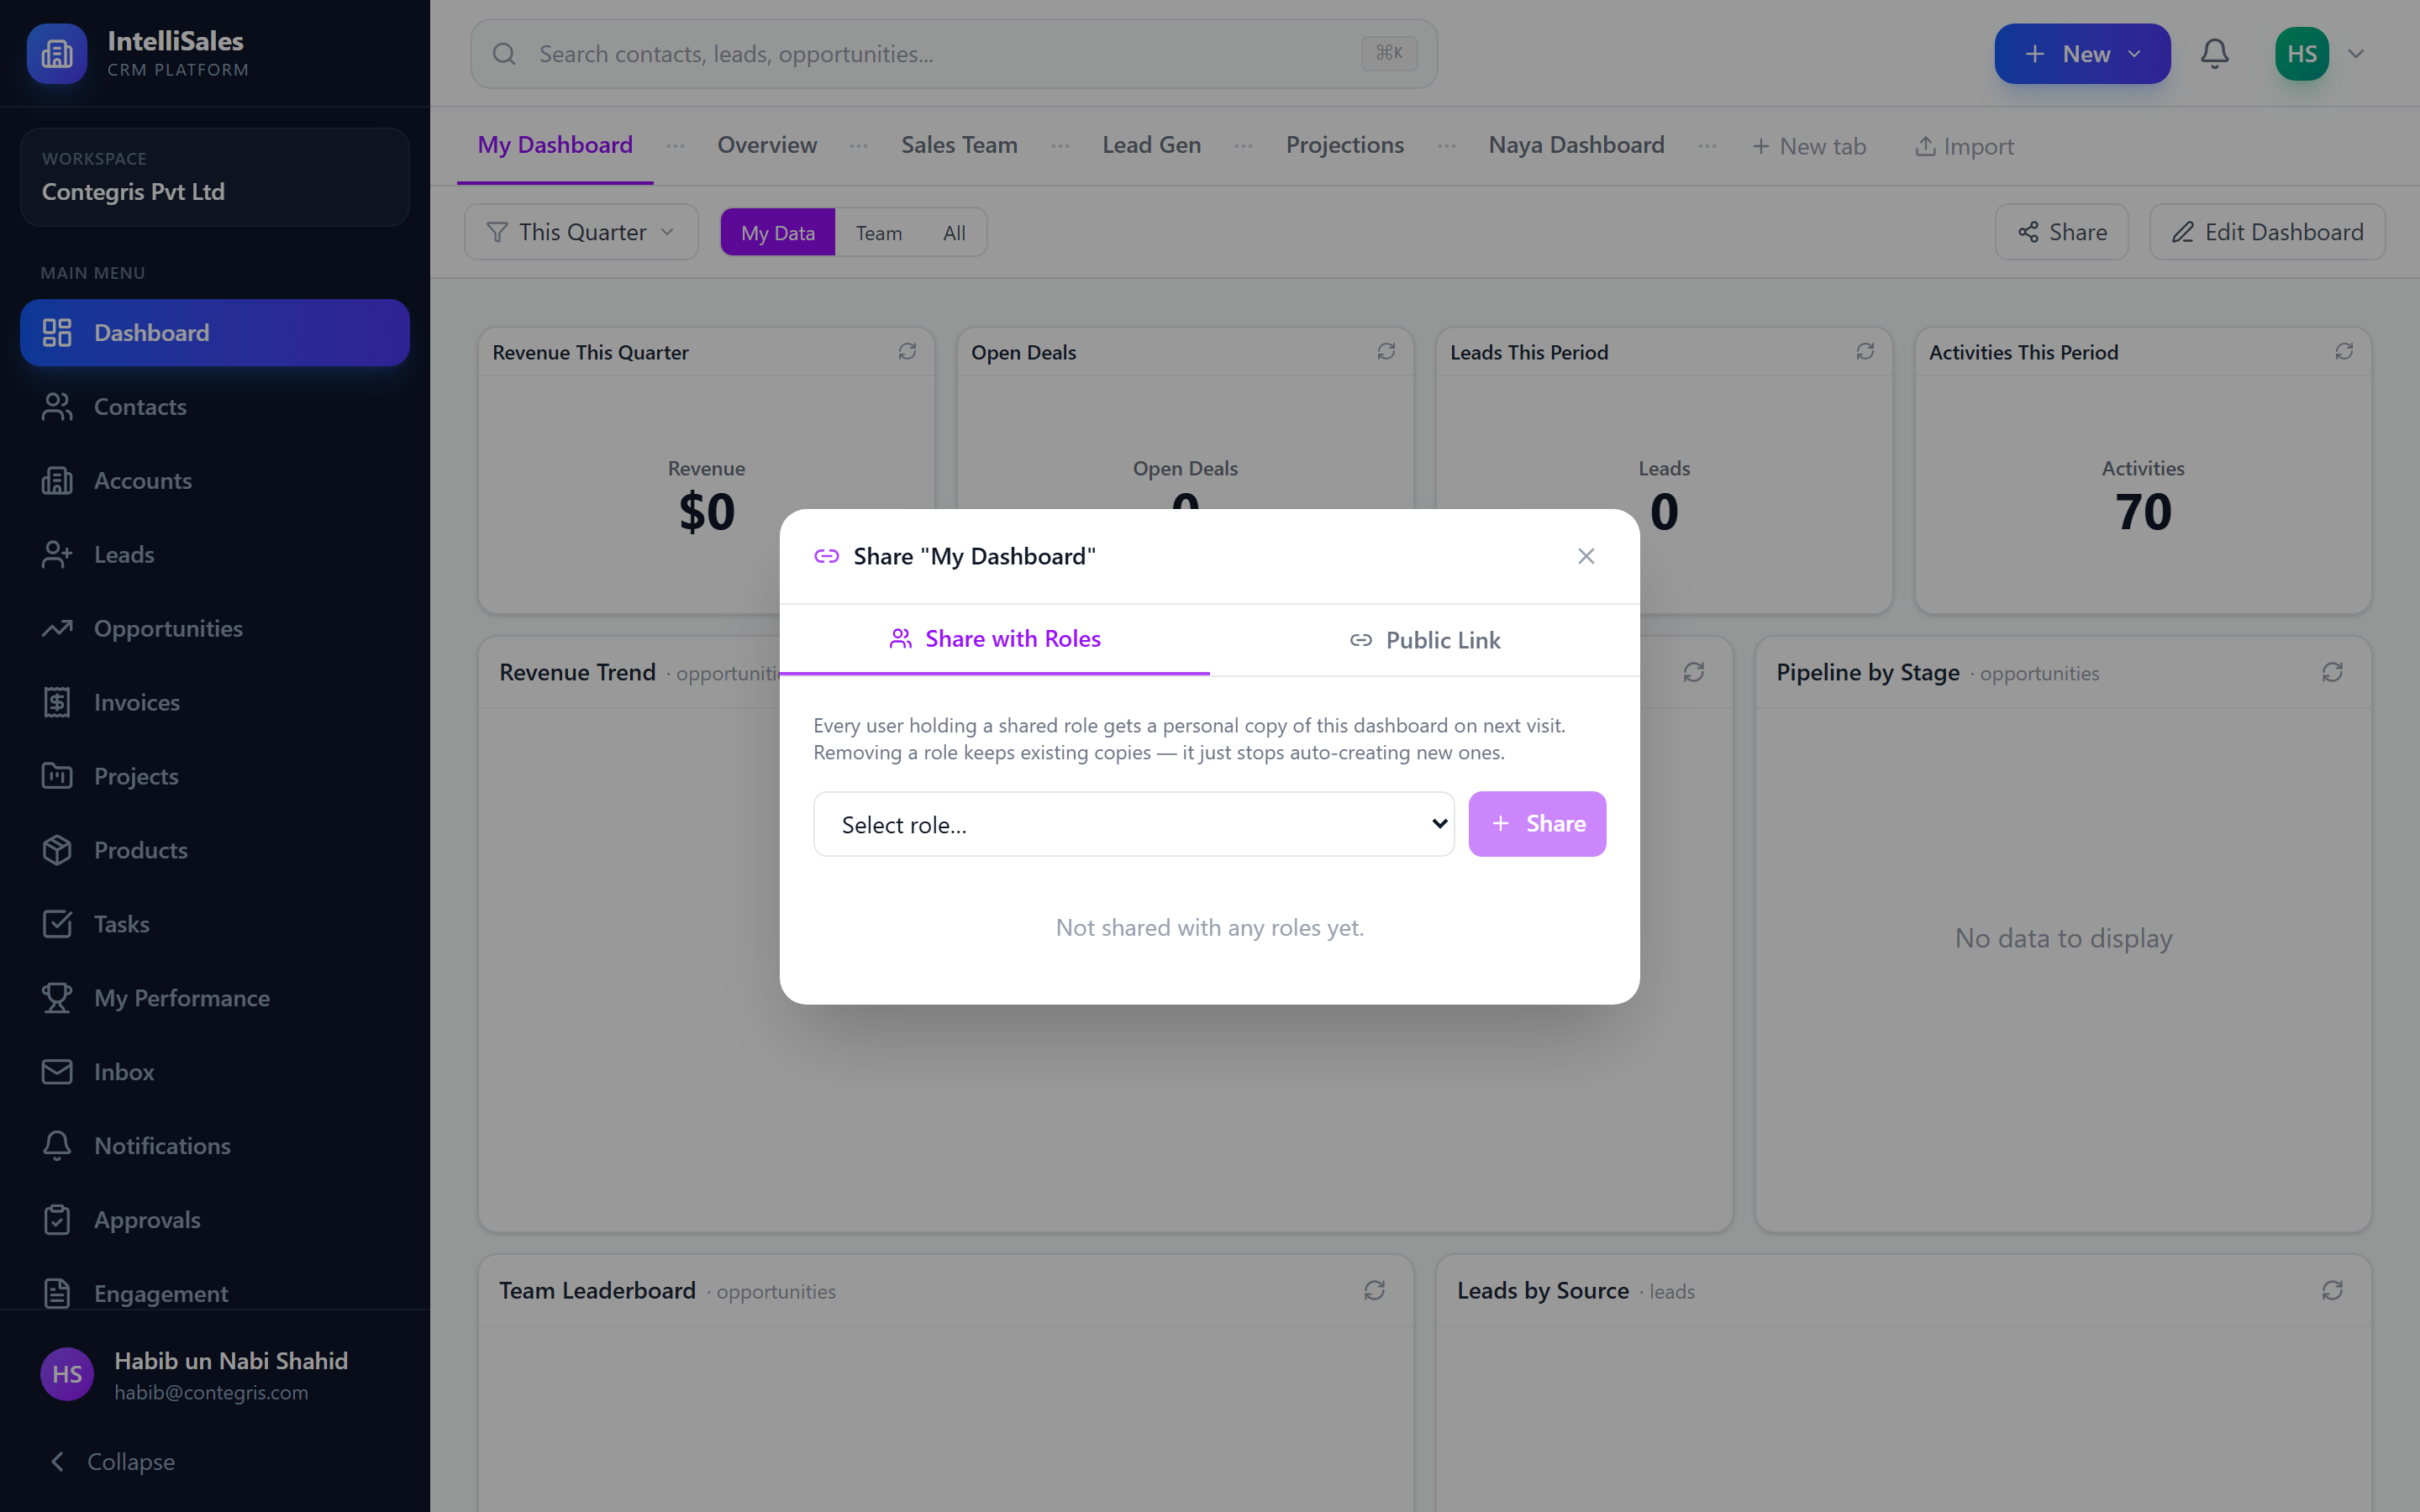
The Share button on the toolbar opens the Share Dashboard modal with two independent tabs:
- Roles — share with one or more roles. Each user gets a clone-on-first-view so they can tweak filters without affecting other members of the role.
- Public Link — generate a tokenised URL that doesn't require login. Great for embedding in a wiki or sending to a stakeholder.
Both tabs are independently RBAC-gated via the new dashboards permission module — see Dashboard Customization → Sharing Dashboards.
Tab-Level Filters
Each dashboard tab has global filters that affect all widgets on that tab:
Date Range
Select a time period to filter data across all widgets:
- Today, This Week, This Month, This Quarter, This Year
- Custom Range — pick specific start and end dates
Data Scope
Control whose data appears in the widgets:
- My Data — only records assigned to you
- My Team — records assigned to you and your team members
- All Data — all records you have permission to view
Use "My Data" for personal productivity dashboards and "All Data" for management overview dashboards.

Importing and Exporting Dashboards
Exporting
To save a dashboard configuration for backup or sharing:
- Click the Export button on the dashboard toolbar.
- Select Export as JSON.
- A
.jsonfile will download containing all widget configurations for the current tab.
Importing
To load a previously exported dashboard:
- Click the Import button on the dashboard toolbar.
- Select a
.jsondashboard file from your computer. - The widgets from the file will be loaded into the current tab.
Importing a dashboard replaces the current tab's widgets. Create a new tab first if you want to preserve your existing layout.
Sharing Dashboards
Dashboards can be shared with your team:
- Click the Share button on the dashboard toolbar.
- A public URL is generated for the dashboard.
- Share this URL with team members or stakeholders.
Shared dashboards display in read-only mode and update in real time.
For information on adding and configuring individual widgets, see Dashboard Widgets and Dashboard Customization.