Managing Projects
This chapter covers the detailed management of projects including views, phases, tasks, dependencies, Gantt charts, Kanban boards, team management, time tracking, and the client portal.
Grid/List View Toggle
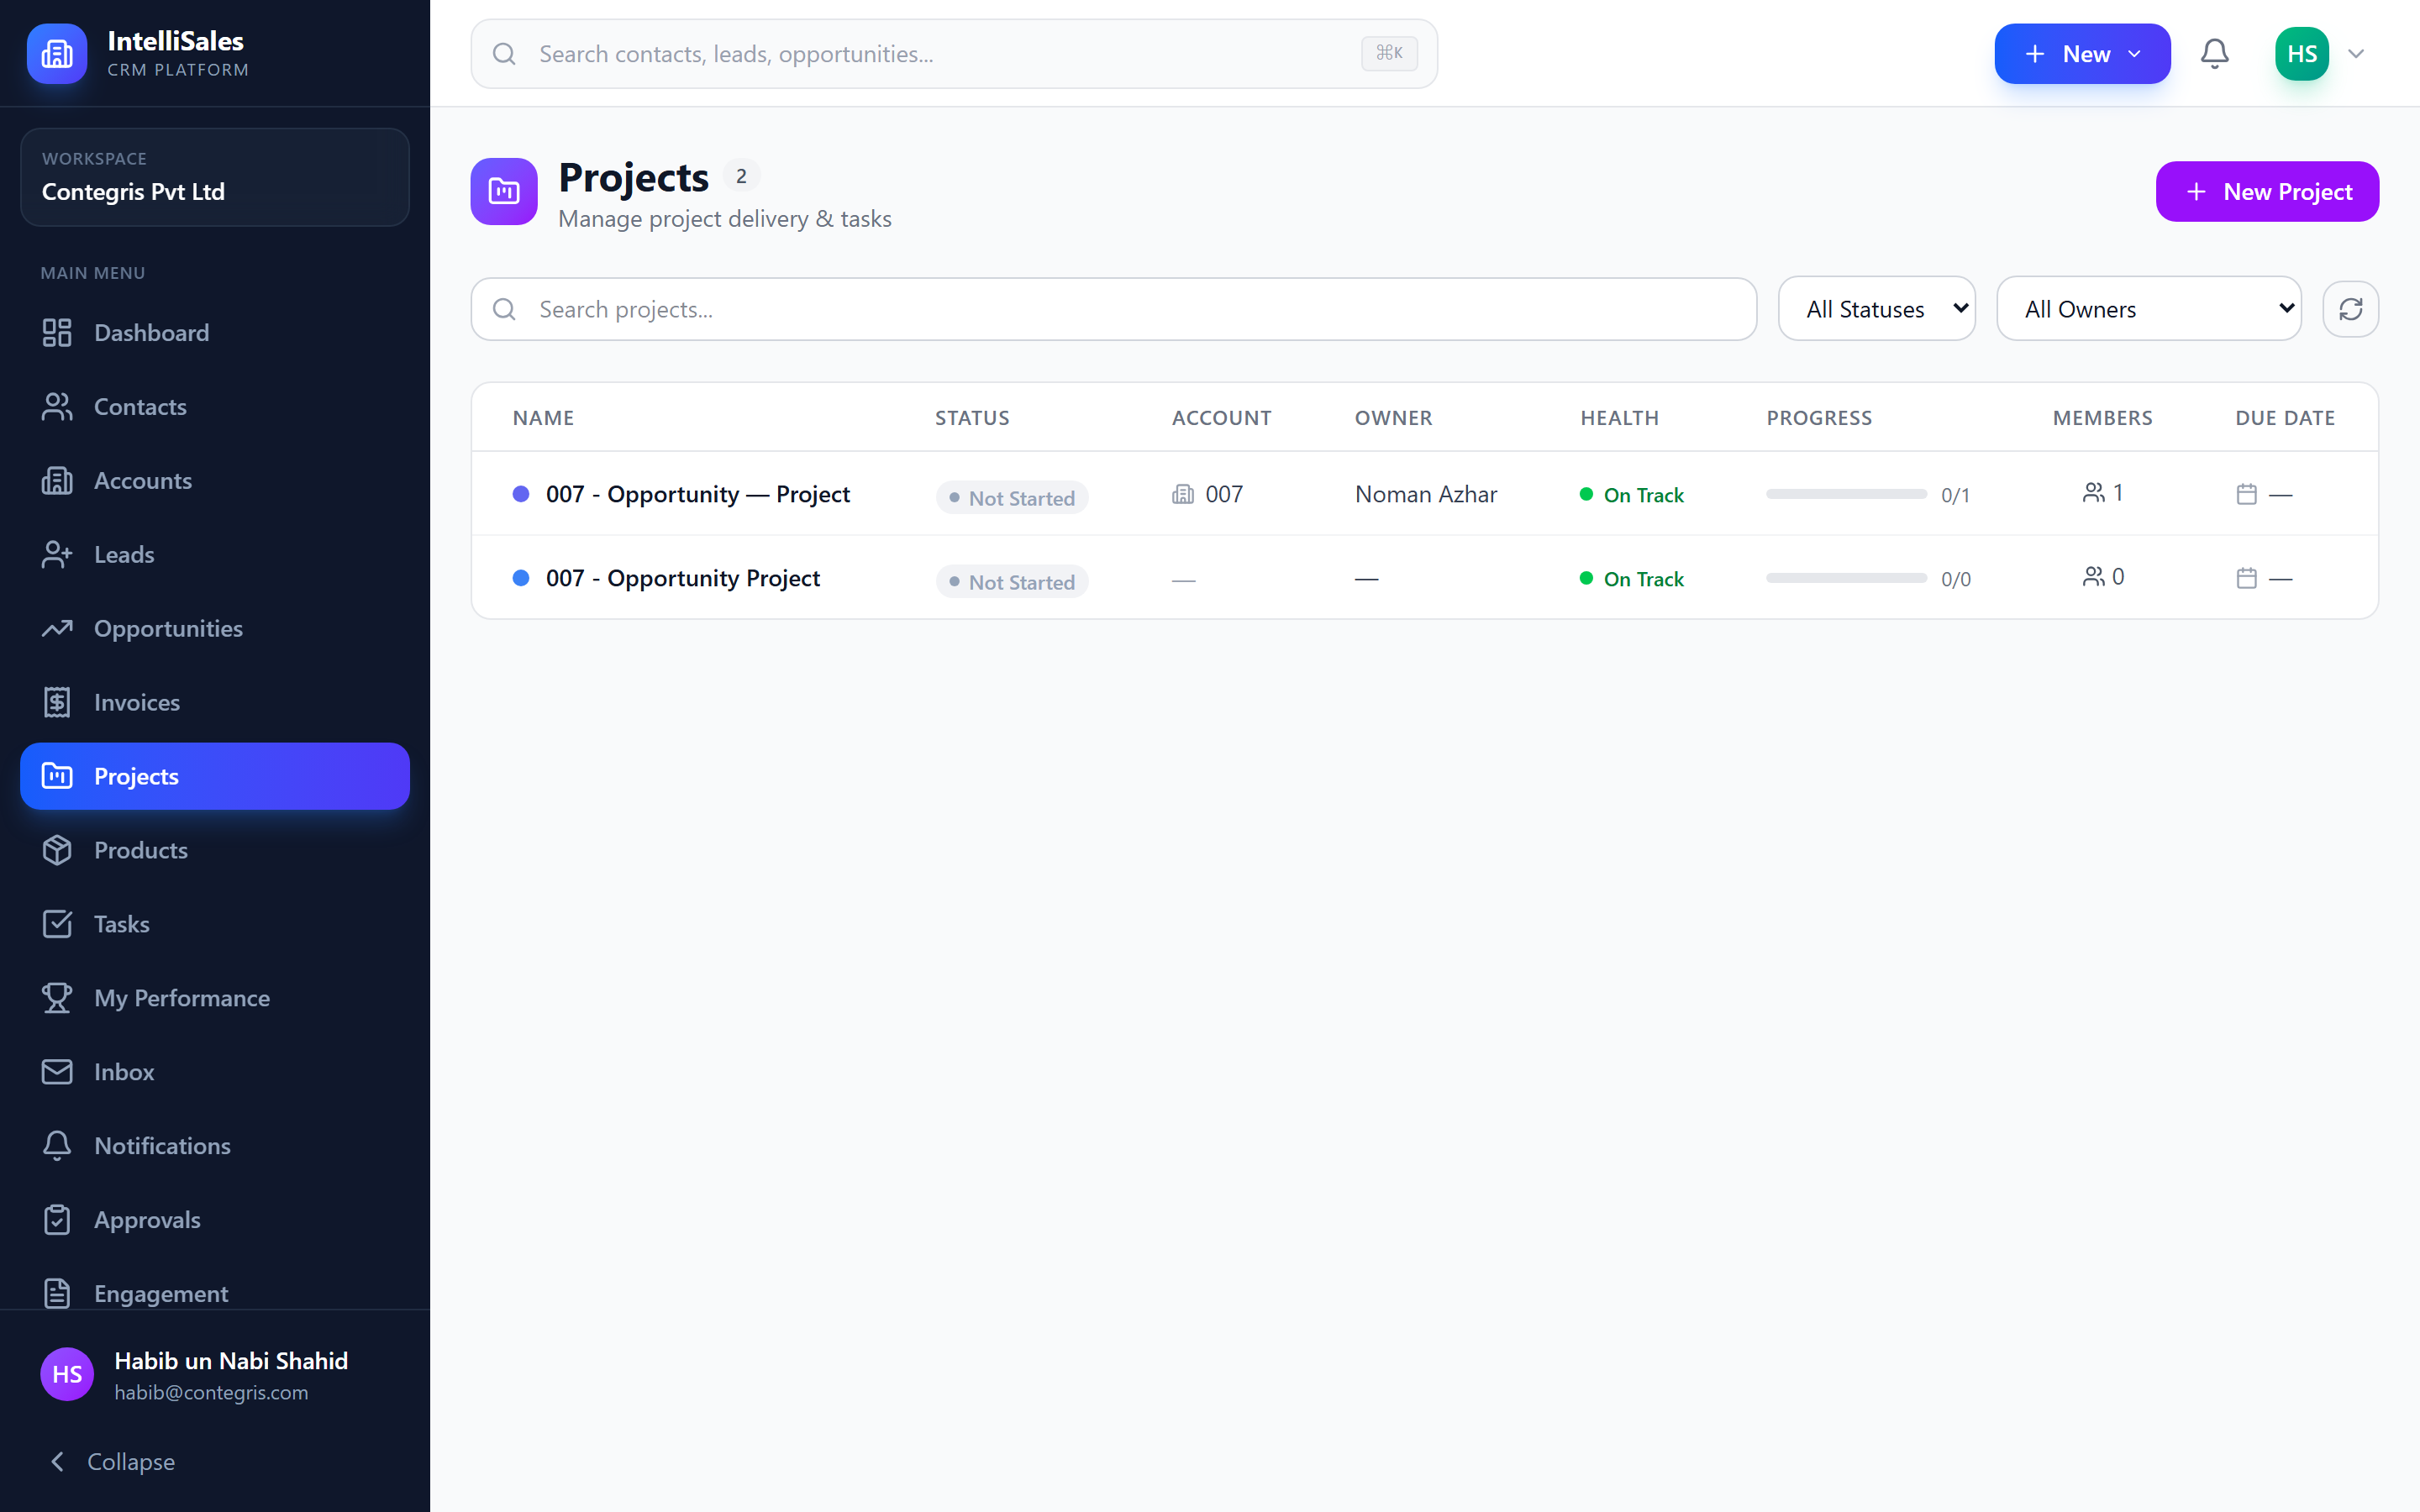
The Projects module offers two layout options for browsing projects:
- Grid View — projects displayed as visual cards in a grid layout, showing status, health color, team avatars, and date range
- List View — projects displayed in a data table with sortable columns
Toggle between views using the view switcher buttons at the top of the page.
Project Cards
In grid view, each project card displays:
- Project name and color tag
- Status badge (Not Started, In Progress, On Hold, etc.)
- Health indicator (On Track, At Risk, Off Track)
- Team member avatars (first few members)
- Start and end dates
- Progress percentage (based on completed tasks/phases)
Project Detail Page
Click a project to open its detail page, which contains the following tabs:
Overview
A summary panel showing:
- Project description and objectives
- Key dates (start, end, duration)
- Status and health
- Progress bar
- Key metrics (total tasks, completed tasks, overdue tasks)
- Linked opportunity (if applicable)
- Milestones with status
Phases/Tasks
The structured breakdown of the project into phases and tasks.
Phases are major milestones or stages of the project (e.g., "Planning," "Development," "Testing," "Launch").
Each phase contains:
- Phase name and description
- Start and end dates
- Status
- Tasks assigned to that phase
- Progress percentage
Tasks within phases:
- Can be created, edited, and completed inline
- Support assignees, due dates, and priorities
- Support subtasks for breaking down complex work items
- Show dependency indicators when linked to other tasks
- Are the same task entities used throughout the CRM
Subtasks:
- Click a task to expand and view its subtasks
- Add subtasks with their own assignee, due date, and status
- Subtask completion contributes to the parent task's progress
To add a phase:
- Click Add Phase.
- Enter the phase name, dates, and description.
- Click Save.
To add a task to a phase:
- Click Add Task within the phase.
- Fill in task details (title, assignee, due date, priority).
- Click Save.
To add a subtask:
- Click a task to open it.
- Click Add Subtask.
- Enter the subtask details.
- Click Save.

Task Dependencies
Set up dependencies between tasks to define execution order:
- Open a task within a project.
- In the task detail, click Add Dependency.
- Select the task that must be completed first.
- The dependency is created as Finish-to-Start (the dependent task cannot start until the predecessor finishes).
Dependencies are visualized in the Gantt chart as connecting arrow lines between task bars.
Circular dependencies (A depends on B, B depends on A) are not allowed. The system validates dependency chains when you add them.
Kanban View
A board-style view with tasks organized by status:
- Columns represent task statuses (To Do, In Progress, In Review, Done, etc.)
- Drag and drop tasks between columns to change their status
- Each card shows task title, assignee avatar, due date, and priority
- Filter by phase, assignee, or priority

Use the Kanban view for daily standups and sprint management. It provides the quickest way to see what everyone is working on and move tasks through the workflow.
Gantt Chart
A visual timeline showing phases and tasks as horizontal bars on a time axis:
- Phases appear as summary bars spanning their date range
- Tasks appear as bars within their phase
- Dependencies are shown as connecting arrow lines between tasks
- Milestones appear as diamond markers at their target date
- Today marker — a vertical line indicating the current date
- Drag to adjust — resize bars to change dates
- Zoom levels — day, week, month views

Use the Gantt chart during project planning and status meetings. It provides the best visual representation of timelines, overlaps, and dependencies.
Team
Manage the project team:
- View team members — see all assigned users with their project roles
- Add members — search and add CRM users to the project
- Set roles — assign project roles (Project Manager, Developer, Designer, QA, etc.)
- Remove members — remove users from the project team
| Role | Description |
|---|---|
| Project Manager | Overall project ownership and coordination |
| Developer | Technical implementation |
| Designer | UI/UX and visual design |
| QA | Quality assurance and testing |
| Consultant | Advisory or specialist role |
| Custom | Any other role defined by the team |
Time Tracking
Log and view time entries for project tasks. Time is shown as hours and minutes (e.g., 1h 30m) throughout the UI.
Two ways to log time
Start/Stop timer (recommended) — server-side, one active timer per user:
- Open a task within the project.
- Click Start Timer. A banner at the top of the project shows the running timer with elapsed time.
- Switch tabs, refresh the page, or come back tomorrow — the timer keeps running on the server.
- Click Stop (in the banner or on the task). A dialog appears pre-filled with elapsed minutes.
- Adjust minutes if needed, add a description, toggle Billable, and click Log Time.
Manual entry — click Log Manually on a task and enter minutes + description + billable flag directly.
Time Report
Open the Time tab on a project. Two views:
- By User — rows per team member. Click a row to expand and see per-task breakdown. Click a task to drill all the way down to individual entries (with description, date, billable flag).
- By Task — rows per task with total hours, billable hours, # of people. Click to expand to individual entries.
Click Export CSV to download the active view (Excel-compatible, UTF-8 BOM included).
Editing / Deleting Entries
Pencil + trash icons appear next to each entry when the user has project_time_entries.edit or delete permission. Admins always have access. Configure per-role at Admin → Roles.
Billable time entries can be used when generating invoices. The total billable hours help calculate project profitability and can be included on client invoices.
Calendar Tasks
The Calendar tab on a project shows a unified month view:
| Color | What it is |
|---|---|
| Purple | Project task with a due date |
| Blue | CRM calendar task linked to this project |
| Gray | CRM task assigned to a project member (not explicitly linked) |
Click + New Calendar Task to create a CRM task scoped to the project. The task automatically syncs to the team member's Google or Outlook calendar (if connected). From inside a project task, click Schedule on Calendar to create a calendar task that's also linked to that specific project task.
Calendar tasks linked to a project task appear in the project task's detail panel under Calendar Tasks.
Documents
Upload and manage project-related files — specifications, designs, contracts, reports, deliverables, etc.
Activity
A timeline of all project activity — phase completions, task updates, team changes, time entries, and document uploads. See Activity Timeline.
Project Templates
Project templates define reusable structures that can be applied when creating new projects.
What Templates Include
A template contains:
- Phases — predefined project phases (e.g., Planning, Development, Testing, Launch)
- Tasks — predefined tasks within each phase with titles, descriptions, priorities, and estimated hours
- Subtasks — predefined subtasks within tasks
- Assignee Roles — suggested roles for each task (e.g., "Developer", "QA")
Using a Template
- When creating a new project, select a Template from the dropdown.
- The project is created with all the template's phases and tasks pre-populated.
- You can then customize the generated structure (rename phases, add/remove tasks, adjust dates).
Managing Templates (Admin)
Administrators manage templates under Admin > Project Settings > Templates:
- Click Create Template.
- Enter template name and description.
- Use Save Structure to define the nested hierarchy of phases, tasks, and subtasks.
- Each task can include: title, description, priority, estimated hours, due days from start, and assignee role.
Creating from Opportunity
When an opportunity is won, you can create a project directly:
- Open the won opportunity.
- Click Create Project.
- Select a template (optional).
- The project is created and linked to the opportunity, inheriting the account and owner.
Create templates for your most common project types (e.g., "Website Redesign", "Software Implementation", "Consulting Engagement"). This ensures consistent project structure and nothing is forgotten.
Client Portal
The client portal lets external stakeholders see project progress, leave comments on tasks, sign off milestones, and message the team — secured by email OTP, not just an open link.
How It Works
Internal team side:
- Open a project and click Client Portal in the header.
- Invite a client by entering their email (required), an optional label (e.g. "CFO"), and an optional expiry.
- A unique URL is generated:
https://yourdomain.com/portal/{tenant-slug}/{token} - Share the URL with that one client. Repeat for additional stakeholders — each gets their own token tied to their own email.
- Revoke any token at any time from the same modal.
Client side:
- Open the URL.
- Enter the email associated with the token.
- Receive a 6-digit code via email (expires in 10 minutes, 5 attempts).
- Enter the code → 24-hour session begins.
- Browse the portal: Overview · Tasks · Milestones · Messages.
Token URLs cannot be used without the code emailed to the authorized address. Forwarding the URL to a colleague will not let them log in unless they also have access to the recipient's inbox.
Controlling What the Client Sees
By default everything is hidden. To share an item, toggle Client-visible on the item:
- Tasks — open the task detail panel, click the small eye icon next to the priority badge. Toggles between Internal only and Client-visible.
- Milestones — same toggle on each milestone.
Tasks and milestones not marked visible never appear on the portal — including their titles, comments, and time data.
What the Client Can Do
| Feature | Visible | Can write |
|---|---|---|
| Project overview + progress (counts client-visible items only) | Yes | — |
| Tasks marked client-visible | Yes | Comment |
| Milestones marked client-visible | Yes | Accept (UAT signoff) |
| Project-level message thread with the team | Yes | Send messages |
| Internal tasks, time tracking, financial data, other projects | No | — |
Comments and messages from the client are clearly labelled with the client's email and the Client sender tag on the team's side.
Team Side — Messages Tab
A new Messages tab on the project detail page shows the project's client/team message thread, with an unread badge when the client posts something new. Team responses are sent from this view; clients see them on the portal's Messages tab within 15 seconds (polling).
Milestone Signoff
When the client clicks Accept on a milestone, the milestone is permanently stamped with:
client_accepted_at(timestamp)client_accepted_by_email(which authorized client signed off)
The acceptance shows on both the internal milestone view and the portal — useful as evidence for UAT or final go-live signoff.
Linked Opportunities
If the project was created from an opportunity:
- A link to the source opportunity appears on the project overview
- Click the link to navigate to the opportunity detail page
- Revenue and deal data from the opportunity is accessible in context
Linking projects to opportunities provides end-to-end visibility from deal to delivery. Reports can track revenue from sale through project completion.
Milestones Management
Milestones mark key checkpoints in the project lifecycle:
- Open the project.
- Go to the Overview or Milestones section.
- Click Add Milestone.
- Enter:
- Name — milestone title (e.g., "Phase 1 Delivery," "Client Sign-off")
- Date — target completion date
- Click Save.
Milestone Statuses
| Status | Description |
|---|---|
| Pending | Milestone has not been reached yet |
| Completed | Milestone has been achieved |
| Overdue | Target date has passed without completion |
Milestones appear in the Gantt chart as diamond markers and on the project overview for quick status checking.